

As a professional travel photographer, I’ve used a lot of travel tripods over the years, including models from Manfrotto and Vanguard.
Today, I’m going to be reviewing Peak Design’s travel tripod, which I’ve been using in the field for the past several months to see how it compares to other travel tripods.
I’ve actually been a fan of Peak Design’s products for a long time. They make a range of photography accessories, and I particularly like their carry strap system which I’ve been using for years on my cameras. They also have a range of popular bags.
My experience to date with their products has been very positive, they are well made and backed by an excellent warranty and support program. Let’s see if that quality has extended to their travel tripod. I’ll share my thoughts on using one of their travel tripods for the first time.
Peak Design Travel Tripod Review
Peak Design launched their travel tripod (via Kickstarter) in 2019, with general availability coming in 2020. This was their first and is currently only tripod.
It’s now been on the market for some time, and I thought it was about time I gave it a good test and review. Let’s start with the specifications.
Peak Design Travel Tripod Specifications
There are two variants of the Peak Design travel tripod on the market at the moment, an aluminum model and a carbon fiber model.
The only difference between the two is the material in use, which affects the weight (and price!). All the other specifications are the same. Here’s a quick overview of the main specifications.
- Load capacity – 20lbs (9.1kg)
- Max height center column raised – 60″ (152.2cm)
- Max height center column down – 51.25″ (130.2cm)
- Weight aluminum model 3.44lbs (1.56kg)
- Weight carbon fiber model 2.81lbs (1.29kg)
- Packed height: 15.4″ (39.1cm)
- Packed diameter 3.125″ (39.1cm)
The retail price of the aluminum model is $379.95, and the carbon fiber model is $599.95. You compare the latest prices and buy it direct from Peak Design here, on Amazon here, and from B&H Photo here.
This tripod certainly fits what we look for in a travel tripod, which is a blend of portability and a good load capacity.
As well as the raw numbers, there are a few additional features of the Peak Design travel tripod I wanted to highlight.
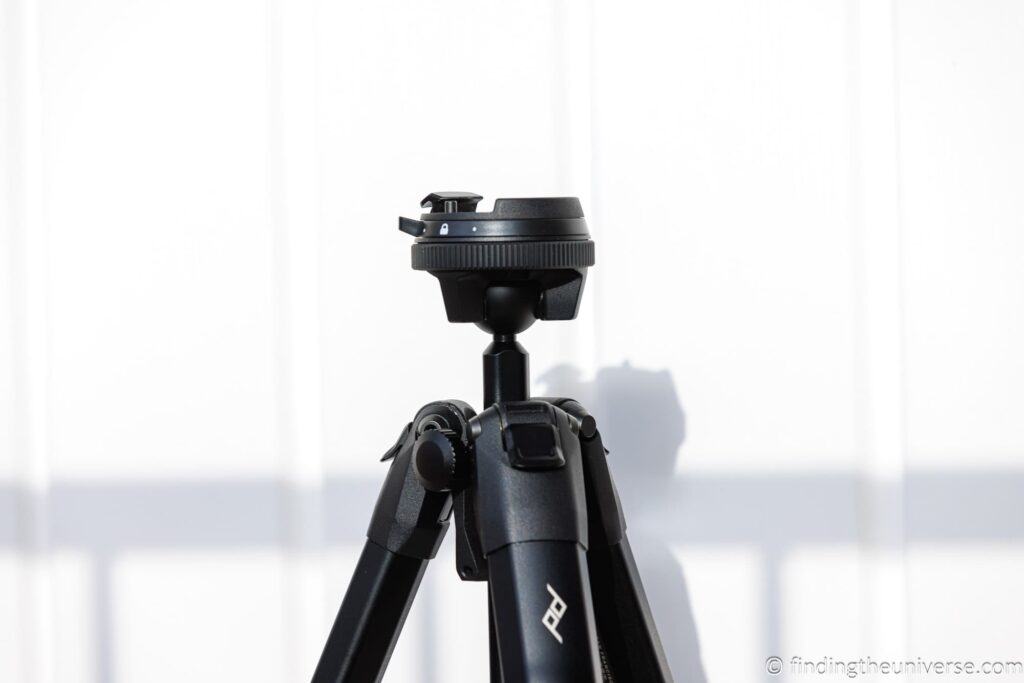
First, the tripod is designed from the ground up to be super portable. The main way this is achieved is with the head design, which is very compact. The ball head basically fits flush into the tripod when packed away and takes up barely any space.
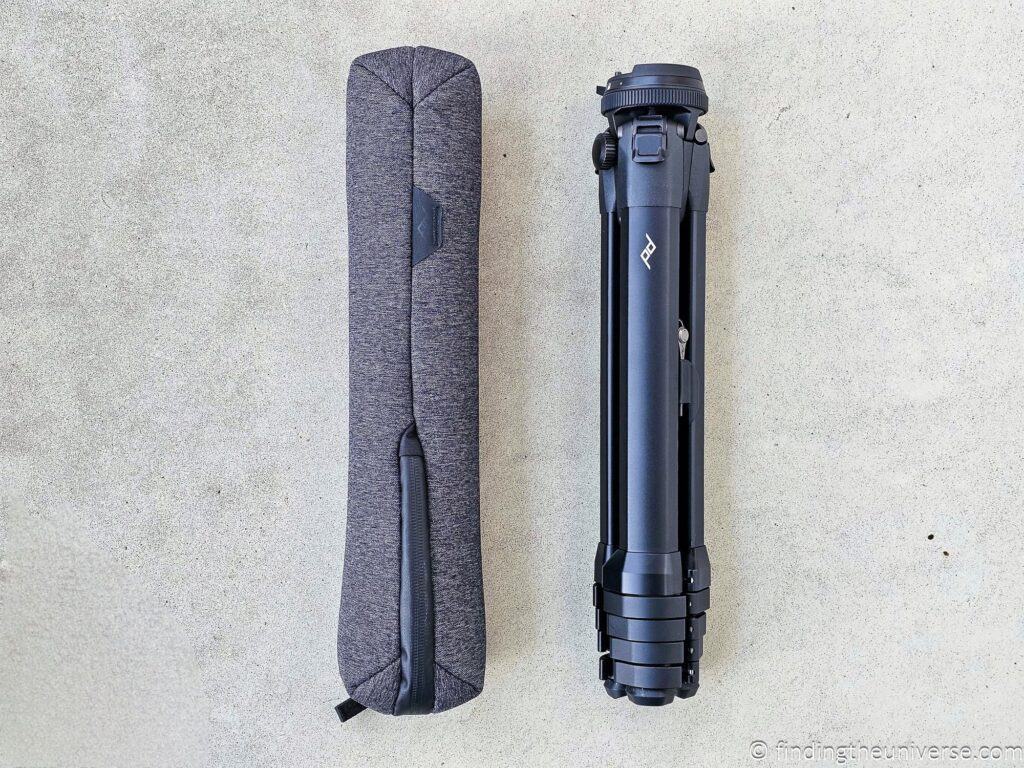
The flip locks, triangular leg design, and small center column also all contribute to allowing this tripod to fold down really small.
I have used a lot of travel tripods over the years, and this one is definitely one of the best designs I’ve used in terms of how it packs away to take up a minimal amount of space.
The ball head is also pretty smart. There’s an integrated bubble level to ensure your camera is flat, and the flip lock design makes attaching and removing your camera very easy. You can also lock your camera into place with the flip of a toggle, which gives great peace of mind.
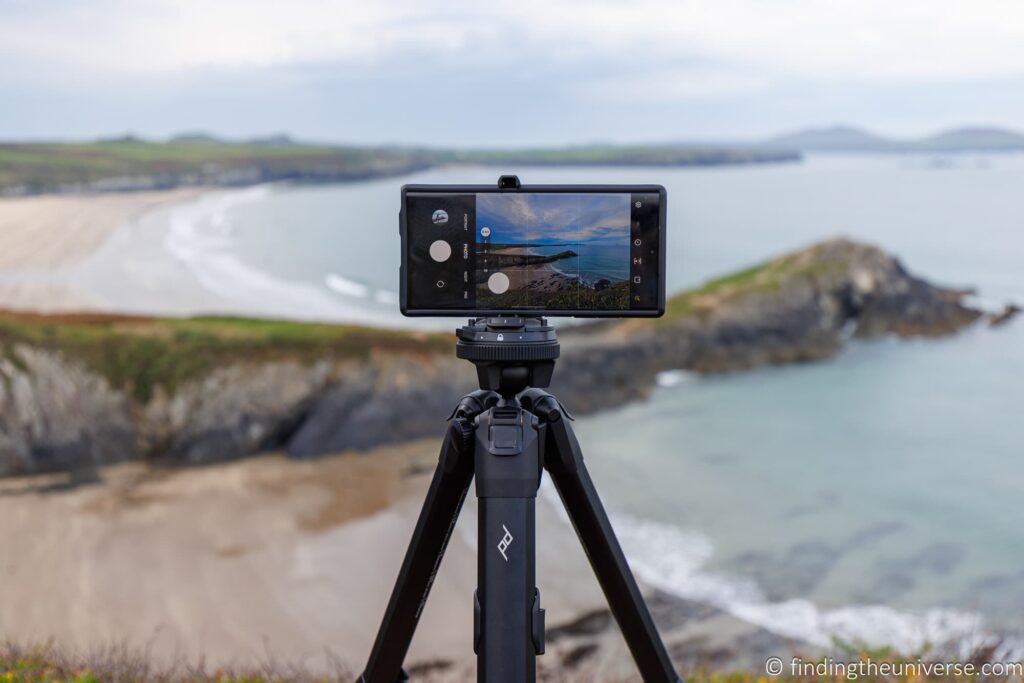
Another neat feature is the integration of a phone head mount. This lives inside the center column, and has a quick-release mechanism for easy installation.
It then attaches directly to the tripod mounting plate and allows you to use your tripod with your smartphone. This should work with pretty much any smartphone on the market today.
It’s a nice value add and is also well designed and sturdy.
One last thing I wanted to highlight is the carrying case. This is often an afterthought with tripods, if you even get one at all.
Well, Peak Design is known for their bags and their tripod case is lovely. It looks great, the tripod fits inside securely, and it’s both padded and weatherproof. It is missing a strap, but there are add-ons to make it compatible with the Peak Design carry system.
Ok, so those are the main features. What is this tripod like to actually use in the real world? Let’s find out.
Peak Design Travel Tripod – Thoughts on Real World Use
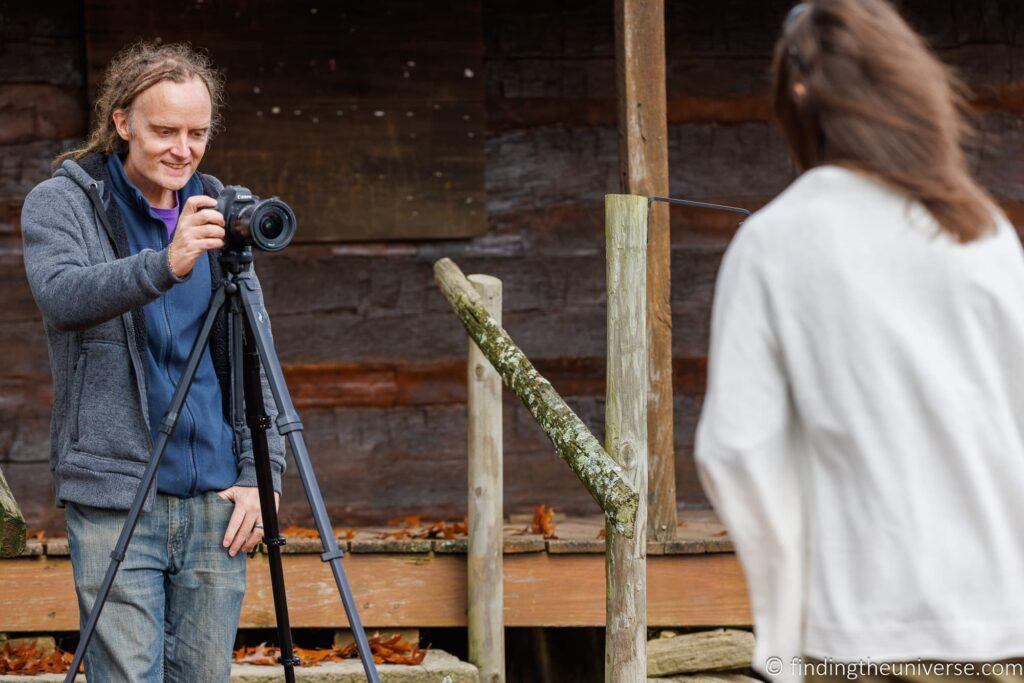
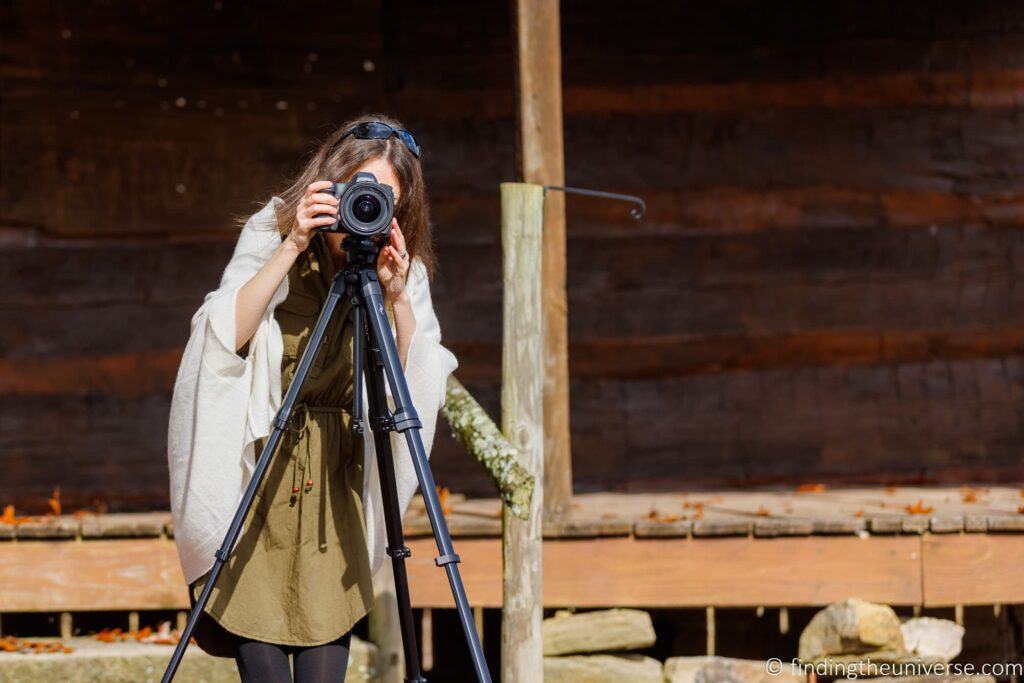
I prefer to do a review based on real world experience, so I traveled with the Peak Design travel tripod as my main tripod for several months to see how it performed in the field.
As this is a travel tripod, I expect it to be something I can carry with me when hiking, so I took it with me on a number of hikes up various Welsh mountains as well as other slightly less strenuous strolls. It has also been on more leisurely trips in the UK, France, and the USA.
When I’m testing a travel tripod, there are a few things I’m interested in. First, it has to be lightweight, because no one wants to carry more than they need to.
This tripod definitely meets that requirement, even the aluminum version is light enough that I don’t have to think twice about adding it to my gear for a trip.
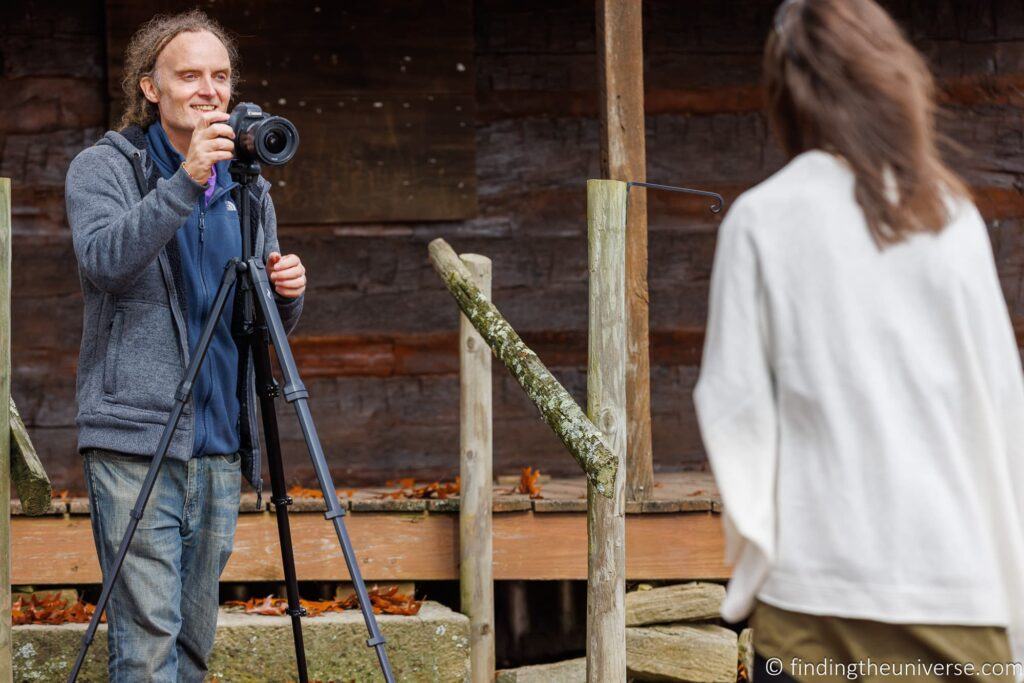
The next thing I look for is how easy the tripod is to set up and put away. When I’m hiking, I don’t want to have to spend a lot of time putting a tripod up and down whenever I see an opportunity for a shot.
The Peak Design travel tripod definitely works in that regard as well. I’m normally not a big fan of flip-lock legs as they can catch on my camera bag when setting up and putting away.
However, in this case they are well designed so that doesn’t happen, and they make set up and put down a breeze.
The way the camera attaches to the head also works well. This is something that other tripods don’t always do as well at, especially when using the Peak Design carry system which has the carry strap attached to the tripod plate.
The Peak Design carry strap hooks on the camera base plate can sometimes get in the way of easy attachment to the tripod head. Obviously, this being a Peak Design tripod, that issue has been thought through, and the camera easily attaches to the tripod head even with the strap still attached.
There’s also a handy locking mechanism on the tripod head that makes it easy to ensure the camera is properly attached to the tripod head.
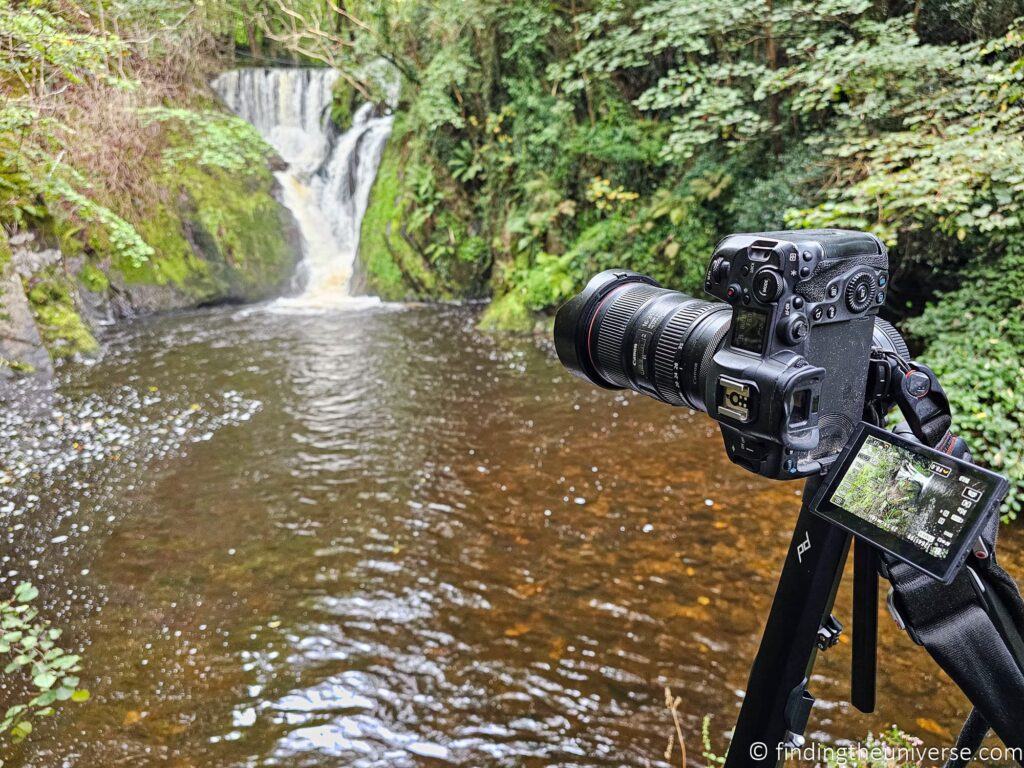
Of course, any tripod is only worth its salt if it actually provides a stable platform for shooting from.
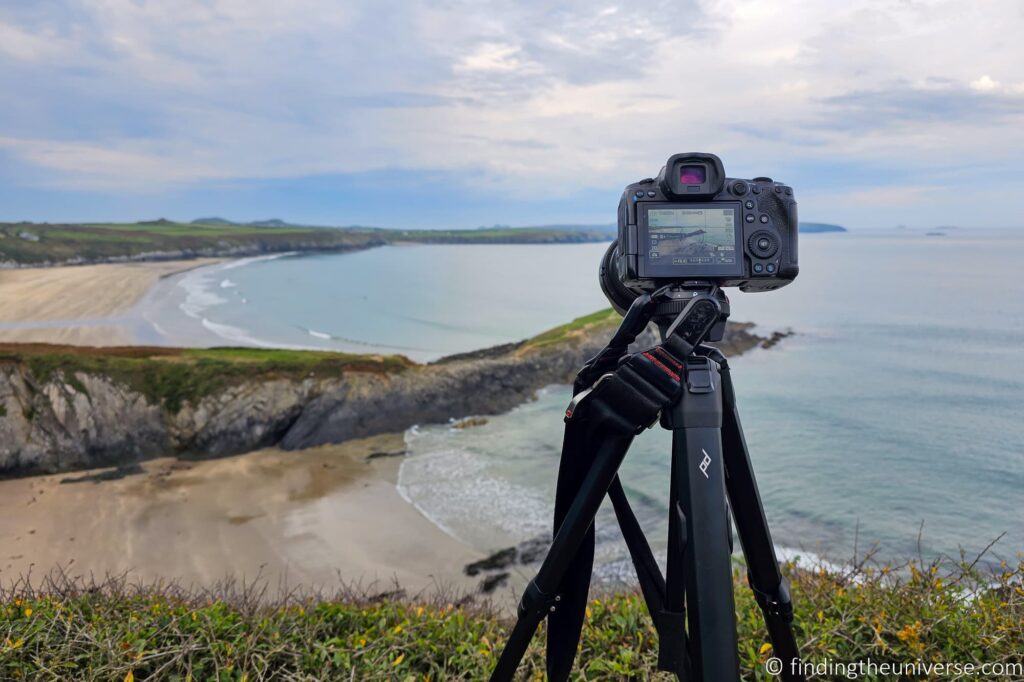
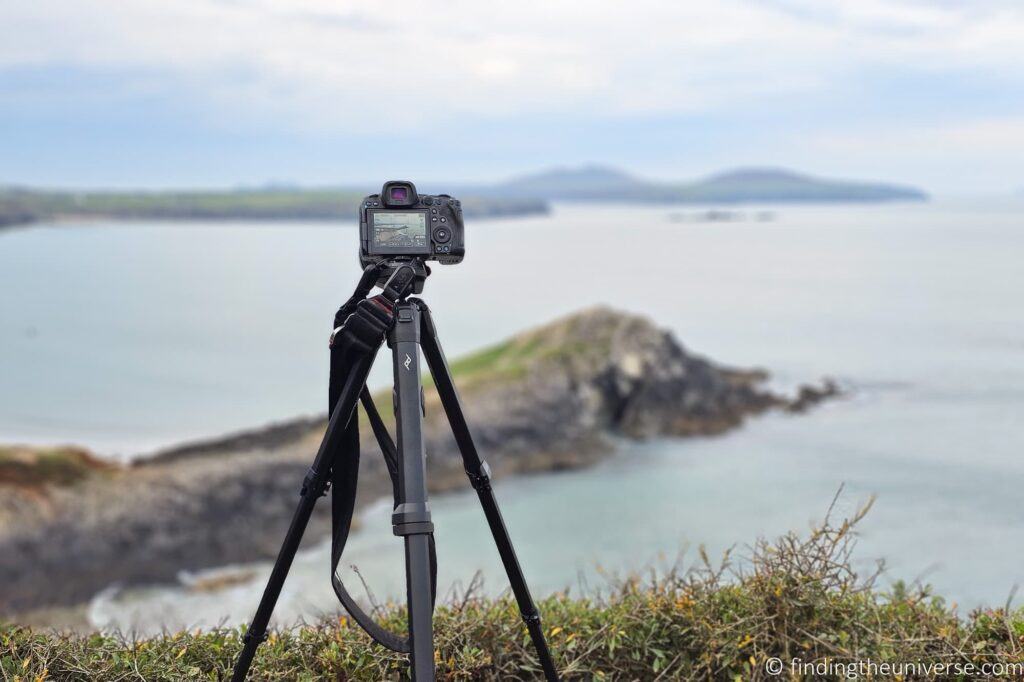
I’ve used it with a full-frame mirrorless camera paired with a heavy 100-400mm lens, and it performed very well. I also used it with my more normal landscape wide-angle lens, and even with the smartphone adaptor.
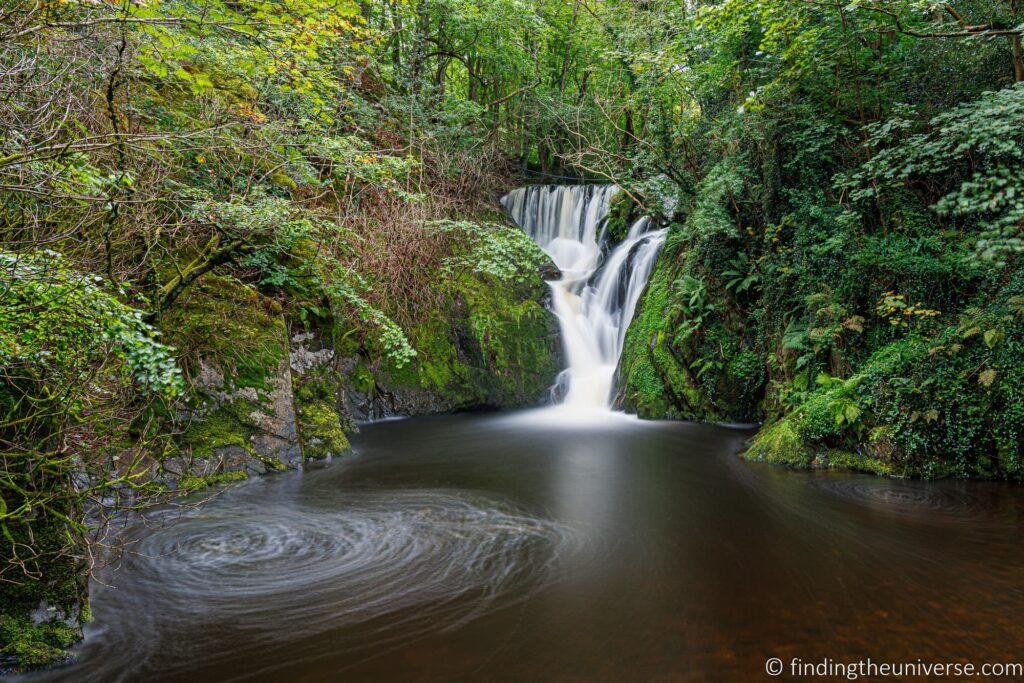
All around, this tripod performed very well and let me get the shots I wanted, even the long exposure shots where the tiniest movement can ruin everything.
The final thing I need in a travel tripod, or any tripod for that matter, is ease of operation.
Now this one was a bit of a learning curve for me. The design of the Peak Design tripod head is that it slots down into the legs. However, you have to partially extend the central column (around an inch), to get full movement.
Before I got used to the tripod, I would try to move the head to the position I wanted, but not be able to because the head only has full freedom of movement once the central column has been partially extended.
Extending the central column isn’t hard, but it is an additional step to remember to do.
Once the head is extended, adjusting the head is easy. It’s a ball-style design, and to adjust the angle of the head you loosen the control ring, move the tripod head to the angle you want, and then tighten the control ring.
This is all very easy and intuitive once you get used to it. This is really important, especially if you plan on doing any astrophotography or Northern Lights photography, as you might need to operate the tripod in very dark conditions where you are working by feel.
So that is a lot of positive things. Are there are issues I encountered? Well, yes.
The main downside I discovered, which is the main negative of this tripod, is a lack of separate pan and tilt controls.
When you loosen the control ring to adjust the head, you can move the camera up, down, left, and right. However, you can’t pan or tilt separately.
So, for example, if you have your shot framed almost perfectly, but want to shift the view a few degrees to the left, you have to be careful not to tilt the camera up or down at the same time.
This also makes tasks like shooting panoramas a lot more challenging. Many tripod heads, including many ball heads, offer separate pan and tilt controls, so you can pan independently of the tilt control.
Now, honestly, whether or not this is a big deal will depend a lot on the photos you like to take. If you take a lot of panoramas, then this will likely be a bigger issue.
The good news is that the control ring also controls the friction, meaning you can loosen it only a little and then just be careful as you move the camera, with friction on your side to prevent unwanted movements on the wrong axis.
However, with a heavy camera setup it can be challenging to only move in one direction.
The other thing to bear in mind is that over time the flip locks on the tripod leg sections can become loose, meaning that the legs don’t stay extended. This is just an overall issue with all flip lock legs on tripods I have used.
This can happen with any tripod, but Peak Design have thought ahead and included both a tool to adjust the leg flip lock tightness, as well as a handy clip which allows you to attach the adjustment tool to a tripod leg.
You just want to remember to bring this with you when you travel, in case a leg needs tightening up when you’re in the field.
Finally, whilst the addition of the bubble level is appreciated, the light color and way it is positioned means that my camera covers most of it up, making it difficult to see and not very useful once my camera is set up.
Honestly, most cameras and smartphones these days have a built-in level feature anyway, so I rarely use the bubble level on a tripod, but I wanted to mention it in case it was important to you.
Overall, I definitely enjoyed using this tripod in the field, and it has earned a place in my photography bag for sure.

Peak Design Travel Tripod Pros and Cons
Having covered my experience using the Peak Design travel tripod in the field I wanted to share a quick rundown of what I felt to be the main pros and cons of this tripod from a travel photography perspective.
Pros
- Lightweight, even the aluminum version
- Folds down very small
- Works well with the Peak Design clip system
- Really nice tripod bag
- Can convert to tabletop tripod
- Built-in smartphone holder
- Lifetime warranty
Cons
- Expensive, especially for carbon fiber model
- No easy panning control
- Some constraint on portrait orientation shot
Overall,l I definitely think it’s a good travel tripod. The main downside is the cost is pretty high, especially if you are considering the carbon fiber model, which costs a lot more but only offers a modest decrease in weight.
I think most people would be happy with the aluminum model as the features are the same.
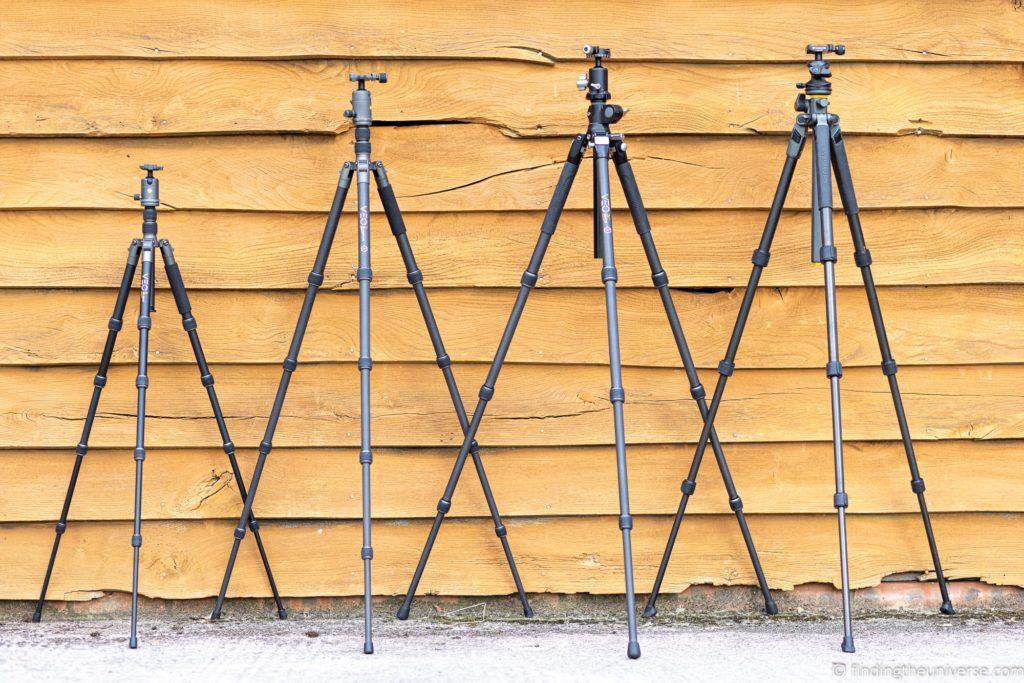
Peak Design Travel Tripod Alternatives
When you start researching tripods, you are going to quickly learn that there are a great many tripods on the market, and honestly, it can be hard to tell them apart.
The main decisions will come down to how much you want to spend and how important specifications like maximum load capacity, maximum height, minimum height, folded height etc. are to you.
Most tripods play around with these specifications, so you should be able to find the perfect tripod for you. I wanted to highlight a few options to consider, and you can see more options in our guide to the best travel tripods.
Gitzo Traveler Series
Any comparison of tripods, especially high-end tripods, is going to include mention of Gitzo. These are generally regarded as some of the best tripods on the market, although they tend to come with a fairly eye-watering price tag.
Still, the Peak Design carbon fiber tripod isn’t exactly a budget model, so I feel it’s fair to compare it against a tripod of this caliber.
There are quite a few tripods in the Gitzo Traveler series. I’d say the most comparable model would be the Gitzo Traveler, series 1, 5 section tripod.
This carbon fiber tripod has a maximum height of 58.46″, a folded size of 13.98″, a weight of 3.13lbs and a max load capacity of 22lbs. It has a retail price of $719.99.
So compared to the Peak Design carbon fiber model, the Gitzo has a slightly smaller folded height, weighs slightly more, and has a slightly lower maximum height.

Vanguard VEO 3 GO 235CB or 265HCB
A quick note, I’m a Vanguard Ambassador and have been since 2014, and I’ve used a lot of their gear over the years, many of which I’ve also reviewed.
I think their products offer a lot, and I’ve been very happy with their gear in use around the world.
The two main tripods I think they currently produce which you might consider instead of the Peak Design Travel Tripod would be from the Vanguard VEO 3 Go range, and specifically the 235CB or 265HCB models.
These are both carbon fiber tripods, but with a retail price around half that of the carbon fiber Peak Design Travel Tripod model.
The 235CB is the smaller tripod, with a maximum size of 53.5″, a folded size of 13″, a weight of 2.3lbs, and a max load capacity of 8.8lbs. It has a retail price of $269.99.
The carbon fiber variant of the Peak Design tripod has a much higher load rating and a higher maximum height, but also weighs more and doesn’t fold up as small. It’s also more than twice as expensive. One to consider if you have a smaller setup that won’t challenge the maximum load rating.
The 265HCB is the taller tripod, with a maximum size of 65.5″, a folded size of 16.1″, a weight of 3.1lbs and a max load capacity of 22lbs. It has a retail price of $339.99.
The carbon fiber variant of the Peak Design tripod has a similar load rating and a lower maximum height, but weighs less and folds up a bit smaller. It’s nearly twice as expensive.
Both Vanguard tripods also convert to monopods and come with a smartphone adaptor and Bluetooth remote shutter trigger. They’re also available in aluminum, at a lower price point and a higher weight.
The aluminum VEO 3 Go 235AB retails for $219.99, and the aluminum VEO 3 Go 265HAB retails for $269.99. Generally the easiest way to save money on a travel tripod is to choose an aluminum model over a carbon fiber one.
If you’re interested in this product, or any of the other Vanguard products, you can save money using our exclusive Vanguard discount code. This will give you 20% off everything in the Vanguard store.
Just use the code FindingTheUniverse for your discount! This Vanguard discount code works in the Vanguard USA, UK, Australia, Spain, and Germany stores.
Should you Buy the Peak Design Travel Tripod?
Honestly, only you can answer this question! However, having used it for a number of months I can definitely say that it is a well-made tripod. It works very well and has enough clever design features to make it stand out in a very crowded market.
When you add up all the little extra things like the nice bag, smartphone holder, and compatibility with other Peak Design products, it ends up as a really well-rounded product.
Of course, there are many other tripods on the market at other price points, but I don’t think you will be disappointed if you decide to go for it.
You can buy it direct from Peak Design here, on Amazon here, and from B&H Photo here.
Further Reading
That’s it for my review of the Peak Design travel tripod – I hope you found it helpful. Before you go, I wanted to share some of our other content which we think you will find useful.
- Our review of the Vanguard VEO 2 265CB tripod after three years of regular use.
- A review of the Vanguard VEO 2Go 265HCBM, the VEO 3+ 263AB and the VEO 3T+ 264CB.
- We have a guide to why you need a tripod, a guide to choosing a travel tripod, and a round-up of our favourite travel tripods
- We have a guide to how to use a compact camera, how to use a DSLR camera, and how to use a mirrorless camera. We also have a guide to how a DSLR works
- Knowing how to compose a great photo is a key photography skill. See our guide to composition in photography for lots of tips on this subject
- We have a guide to what depth of field is and when you would want to use it.
- We are big fans of getting the most out of your digital photo files, and do to that you will need to shoot in RAW. See our guide to RAW in photography to understand what RAW is, and why you should switch to RAW as soon as you can if your camera supports it.
- You’re going to need something to run your photo editing software on. See our guide to the best laptops for photo editing for some tips on what to look for.
- If you’re looking for more advice on specific tips for different scenarios, we also have you covered. See our guide to Northern Lights photography, long exposure photography, fireworks photography, tips for taking photos of stars, and cold weather photography.
- If you’re looking for a great gift for a photography loving friend or family member (or yourself!), take a look at our photography gift guide,
- If you’re in the market for a new camera, we have a detailed guide to the best travel cameras, as well as specific guides for the best cameras for hiking and backpacking, the best compact camera, best mirrorless camera and best DSLR camera. We also have a guide to the best camera lenses.
- If you want a camera or lens, but the prices are a bit high, see our guide to where to buy used cameras and camera gear for some budget savings options.
Looking to Improve Your Photography?
If you found this post helpful, and you want to improve your photography overall, you might want to check out my online travel photography course.
Since launching the course in 2016, I’ve already helped over 2,000 students learn how to take better photos. The course covers pretty much everything you need to know, from the basics of how a camera works, through to composition, light, and photo editing.
It also covers more advanced topics, including astrophotography, long exposure photography, flash photography, and HDR photography.
You get feedback from me as you progress, access to webinars, interviews and videos, as well as exclusive membership of a Facebook group where you can get feedback on your work and take part in regular challenges.
It’s available for an amazing one-off price for lifetime access, and I think you should check it out. Which you can do by clicking here.
Note: We were sent this product for free to see how we liked it. I chose to write this review based on my own personal opinion of the tripod after using it for a while. All opinions are our own.


